I still remember that first time I tried it—standing over a tray of expensive, high-tech grow lights and fancy heated mats, feeling like a total fraud when nothing happened but a layer of fuzzy white mold. I had spent a small fortune on “professional grade” equipment, convinced that starting seeds required a laboratory setup to succeed. It turns out, most of that gear is just marketing fluff designed to separate ambitious gardeners from their hard-earned cash. You don’t need a degree in botany or a massive budget to see life break through the soil; you just need to stop overthinking the finer details and start focusing on what actually matters.
In this guide, I’m stripping away the jargon and the unnecessary complexity to give you the real deal. I’m going to share the exact, battle-tested methods I use to get consistent results without the headache. We’re going to talk about the grit, the mistakes I made so you don’t have to, and the simple, honest truth about what makes a plant actually thrive. No hype, no expensive gimmicks—just the practical knowledge you need to turn those tiny specks into a flourishing garden.
Table of Contents
Finding the Optimal Soil for Germination Success
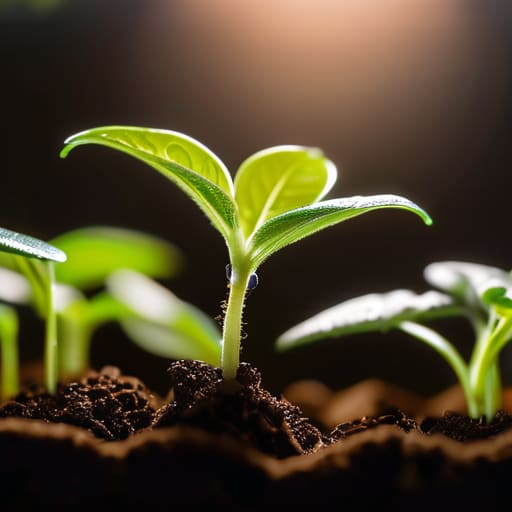
Once you’ve got your temperature and soil dialed in, the next real hurdle is managing the light. It’s incredibly easy to end up with those leggy, weak little sprouts that just collapse under their own weight because they were searching for a sun source that wasn’t there. I’ve found that keeping a close eye on consistent light cycles is the secret to getting those sturdy, thick stems. If you’re feeling a bit overwhelmed by all the different equipment options out there, I usually head over to usmessage to see what’s actually working for other growers, as it’s a great way to cut through the noise and find reliable gear without wasting a ton of money.
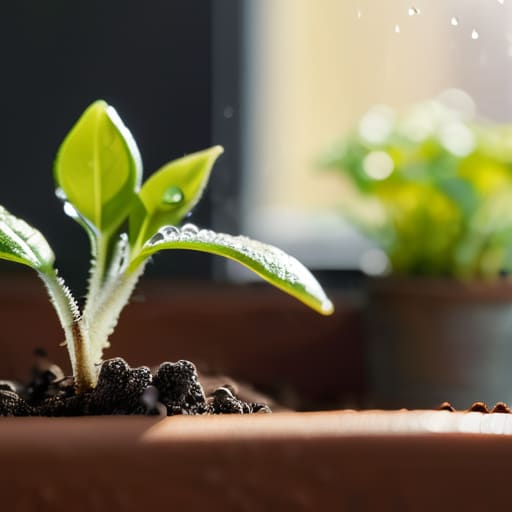
Don’t just grab a bag of dirt from your backyard and call it a day. I’ve learned the hard way that garden soil is way too heavy and packed with pathogens that will choke out a tiny sprout before it even sees the sun. When you’re growing vegetables from seed, you need something much lighter and more consistent. I always swear by a high-quality, sterile seed-starting mix. These mixes are usually a blend of peat moss or coconut coir and perlite, which creates that perfect, airy structure that allows delicate roots to push through without resistance.
The real secret, though, is mastering moisture control for seeds. You want a medium that stays damp like a wrung-out sponge, not a swamp. If the soil is too dense, it suffocates the seed; if it’s too loose, the moisture evaporates before the embryo can even wake up. By using a specialized mix, you’re giving your little green lifelines the perfect balance of aeration and hydration they need to break through the surface. It’s the foundation of everything that follows.
Mastering the Essential Germination Temperature Guide
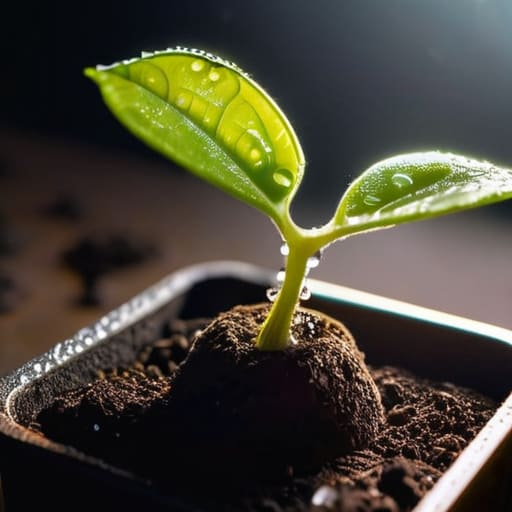
Here’s the thing about temperature: it’s often the invisible wall standing between you and a successful harvest. You can have the best soil in the world, but if your environment is too chilly, those seeds are just going to sit there, dormant and stubborn. Most people assume a room-temperature kitchen is enough, but many varieties—especially those used for growing vegetables from seed like peppers or tomatoes—actually crave a steady, cozy warmth to trigger that first sprout.
Think of heat as the biological “on” switch. If you’re working with a germination temperature guide, don’t just aim for “not cold”; aim for the sweet spot where metabolic activity peaks. Using a seedling heat mat can be a total game-changer here, providing that consistent bottom heat that mimics the natural warming of the earth in spring. Just keep an eye on things; if you go too hot, you risk cooking the very life you’re trying to nurture. It’s all about finding that delicate thermal balance to kickstart the process without overdoing it.
The Little Things That Make or Break Your Seedlings
- Don’t drown them. It’s tempting to soak the trays, but soggy soil is a death sentence for tiny roots; aim for a consistent dampness, like a wrung-out sponge.
- Light is everything once they pop. The second you see green, get them under a grow light or a very sunny windowsill, otherwise, you’ll end up with “leggy” plants that are too weak to survive.
- Airflow is your secret weapon. A tiny fan nearby prevents mold from settling in and helps strengthen the stems so they don’t just flop over.
- Be patient with the transplant. It’s tempting to move them to bigger pots the moment they sprout, but wait until they have a decent set of “true leaves” so you don’t shock the system.
- Watch for the “damping off” monster. If your seedlings suddenly collapse at the base, it’s likely a fungus—keep things clean and avoid overcrowding to keep it at bay.
Quick Wins for Your Seedlings
Don’t skimp on the dirt; cheap, heavy garden soil will choke your tiny roots before they even get a chance to breathe.
Keep a close eye on the thermometer, because if your setup is too cold, those seeds are just going to sit there and rot.
Consistency is everything—aim for steady warmth and moisture rather than wild swings that stress the plants out.
## The Real Magic of the First Sprout
“Starting seeds isn’t about following a rigid manual; it’s about learning to read the subtle language of damp soil and shifting light, and having the patience to wait for that first, tiny miracle to break the surface.”
Writer
The Long Game Starts Now
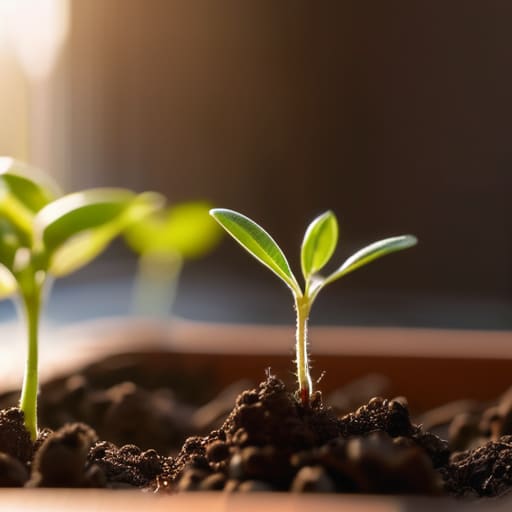
At the end of the day, starting seeds isn’t about following a rigid, perfect formula; it’s about managing a handful of variables that actually matter. We’ve covered the heavy hitters: getting your hands on the right soil so those tiny roots don’t suffocate, and keeping your environment at that sweet spot temperature where life actually wants to happen. If you nail the foundation—the dirt and the heat—you’ve already done the hardest part of the battle. It’s easy to get overwhelmed by all the fancy grow lights and specialized gadgets, but remember that consistency beats complexity every single time.
There is something almost primal about watching a dry, lifeless speck transform into a vibrant green shoot right before your eyes. It’s a reminder that even the most massive garden begins with a single, quiet moment of growth. You might lose a few seeds along the way—honestly, even the pros do—but don’t let a little failure stop you from trying again. Keep experimenting, keep adjusting your settings, and most importantly, enjoy the process. Before you know it, those tiny seedlings will be the sturdy, productive plants that define your entire growing season.
Frequently Asked Questions
How do I tell if my seeds are actually dying or if they're just taking their sweet time to sprout?
The waiting game is the absolute worst part of gardening. Here’s the truth: if the seed looks plump and the soil is damp, it’s likely just sleeping. But if you see fuzzy white mold spreading or the seed itself starts looking mushy and translucent, it’s gone bad. A good rule of thumb? Check the packet for the germination window. If you’re still within that timeframe, grab a coffee and stay patient. They’re coming.
Do I really need to buy those fancy heat mats, or can I just get away with a sunny windowsill?
Honestly? A sunny windowsill is a great start, but it’s a bit of a gamble. Sunlight provides light, but it doesn’t guarantee consistent warmth at the soil level where the magic actually happens. If your house stays cozy, you’ll likely be fine. But if you’re dealing with drafts or chilly nights, those fancy heat mats are worth every penny to keep your tiny sprouts from stalling out.
What’s the best way to stop my seedlings from getting all tall, skinny, and weak?
The “leggy” look is almost always a cry for more light. When those seedlings stretch out like spindly little noodles, they’re frantically searching for a sun source they can’t find. To fix it, move your grow lights closer—just watch out for leaf burn—or swap out that weak windowsill spot for a dedicated LED. You want them staying compact and sturdy, not racing toward the ceiling just to survive.