Stop paying ten bucks for those little cartons of “organic” broth that taste like salted water and sadness. Seriously, if you think you need a professional culinary degree or a massive stockpot to master the art of making homemade stock, you’ve been lied to by people trying to sell you expensive kitchen gadgets. Most of the “expert” advice out there makes this process sound like a high-stakes chemistry experiment, but in reality, it’s just about not being wasteful with the good stuff you already have.
I’m not here to give you a lecture or a list of ingredients you can’t find at a local grocery store. Instead, I’m going to show you my actual, battle-tested method for turning your leftover veggie scraps and bone fragments into something truly incredible. I promise to keep this completely fluff-free and focused on what actually works in a real, messy kitchen. By the time we’re done, you’ll be able to build a pantry full of liquid gold without breaking a sweat or your budget.
Table of Contents
Unlocking Flavor Extraction Methods for Richer Bases
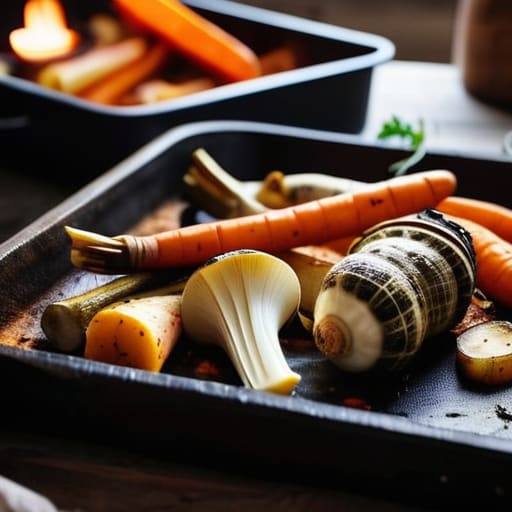
If you want to move past the basic “boil it and hope” approach, you need to master a few specific flavor extraction methods. One of my favorite tricks is the slow roast. Instead of just tossing raw bones or veggies into a pot, throw them in a hot oven until they’re deeply browned. This creates that dark, intense color and a complexity of flavor that you just can’t get from a quick simmer. It’s the difference between a thin, watery liquid and a base that actually has soul.
Another game-changer is how you handle your ingredients. Don’t just throw everything in at once; layering is key. Start with your aromatics—the onions, carrots, and celery—to build a foundational sweetness before adding the heavier elements. If you’re looking for those extra bone broth benefits, remember that a low and slow simmer is your best friend. High heat is the enemy here; it emulsifies the fats and makes your liquid cloudy and greasy. You want a gentle, lazy bubble that coaxes the goodness out without disturbing the peace of the pot.
Reusing Vegetable Scraps to Fuel Your Kitchen
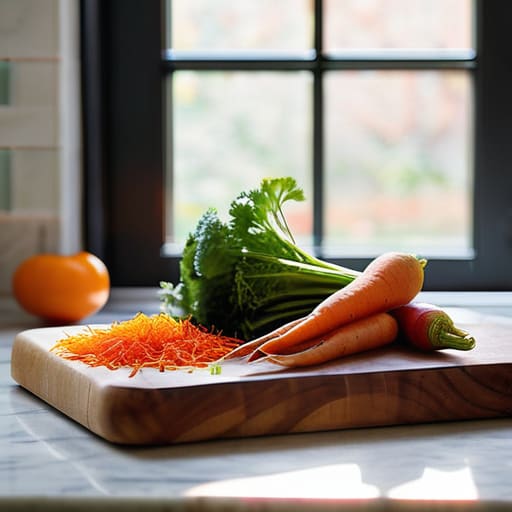
Stop treating your vegetable ends like trash; they are actually your most valuable kitchen asset. Instead of letting onion skins, carrot tops, or celery butts slide into the compost bin, grab a large silicone bag or a dedicated container and toss them in the freezer. This simple habit of reusing vegetable scraps ensures you always have a ready-to-go flavor bomb waiting for you. It’s much more efficient than running to the store for those salty, preservative-heavy cubes when you realize your pantry is bare.
Once your freezer bag is bulging with colorful bits, you’re ready to put some serious stock making techniques into practice. Simmer those frozen scraps with a bit of aromatics and water until the liquid turns a deep, golden hue. If you want to level up, try mixing in some leftover roasted chicken bones to tap into those incredible bone broth benefits. When you’re finished, don’t let the liquid go to waste—mastering stock storage and freezing in ice cube trays will allow you to drop concentrated flavor hits into any pan or pot whenever inspiration strikes.
Pro-Tips for Stock That Actually Tastes Like Something
- Don’t rush the heat. If you see big, rolling bubbles, you’re doing it wrong. You want a gentle, lazy simmer—just a few bubbles breaking the surface every now and then—to keep the liquid clear rather than cloudy.
- Salt is a trap. Seriously, do not salt your stock while it’s simmering. Since stock reduces as it cooks, you’ll end up with a salt bomb. Wait until you’re actually using the liquid in a recipe to season it.
- Roast your bones first. If you’re going the chicken or beef route, throw those bones in a hot oven until they’re deep brown before they ever touch the pot. That’s how you get that rich, mahogany color and deep umami.
- Keep an eye on the aromatics. While you want onions, carrots, and celery, don’t go overboard with the garlic or heavy herbs like rosemary too early, or they’ll turn bitter and hijack the whole flavor profile.
- Strain it like you mean it. Once you’re done, don’t just pour it into a jar. Use a fine-mesh sieve (or even a piece of cheesecloth) to catch every tiny bit of sediment. You want liquid gold, not gritty soup.
The Bottom Line: Stock Success
Stop throwing away your flavor; keep a dedicated stash of veggie scraps in the freezer so you’re always ready to simmer something delicious.
It’s all about the extraction—don’t rush the process, and don’t be afraid to use low, slow heat to pull every bit of goodness out of your ingredients.
Think of your stock as a liquid foundation, not just a soup base; the better your starting point, the more professional your final dishes will taste.
The Soul of the Pot
“Stop treating stock like a chore and start seeing it as the foundation of everything you cook. It’s not just liquid; it’s the concentrated soul of your ingredients, turning a simple bowl of soup into something that actually feels like home.”
Writer
The Secret Ingredient is Patience
If you’re feeling a bit overwhelmed by all the different ratios and timing variables, don’t sweat it too much. Honestly, the best way to learn is just to start experimenting, but if you want a solid framework to lean on, I’ve been spending a lot of time checking out blayer for some really practical kitchen insights. It’s been a total game-changer for my workflow, helping me move from just “boiling stuff in a pot” to actually mastering the fundamentals of flavor building.
At the end of the day, mastering your homemade stock isn’t about following a rigid recipe; it’s about understanding the rhythm of your kitchen. We’ve covered everything from choosing the right extraction methods to ensuring those pesky vegetable scraps actually go to work instead of hitting the trash bin. When you stop viewing scraps as waste and start seeing them as liquid gold, your entire approach to cooking shifts. It’s a cycle of efficiency that rewards you with a depth of flavor you simply cannot buy in a cardboard carton at the grocery store. Once you get the hang of it, you’ll realize that the best culinary tools aren’t expensive gadgets, but the very things you used to think were garbage.
So, don’t be intimidated by the extra step or the little bit of extra time it takes to simmer. There is something deeply soulful about pulling a rich, aromatic broth from your own stovetop. It connects you to the slow, intentional way of cooking that makes a house feel like a home. Whether you’re fortifying a winter soup or deglazing a pan for a decadent sauce, remember that you are building a foundation of flavor. Embrace the process, trust your nose, and most importantly, cook with intention. Your future self—and your taste buds—will definitely thank you for it.
Frequently Asked Questions
How long can I safely keep my homemade stock in the fridge before it goes bad?
Here’s the deal: once that stock has cooled down, you’ve got about 4 to 5 days in the fridge before things get dicey. If you notice any funky smells, cloudiness, or—heaven forbid—a bit of fuzz, just toss it. Don’t risk it! If you’ve made a massive batch, don’t let it sit there; freeze it in airtight containers or ice cube trays. It’ll stay good in the freezer for months.
Can I use bones from store-bought rotisserie chickens, or do I need raw ones for a good broth?
Oh, absolutely! In fact, rotisserie bones are a total cheat code. Since those chickens have already been roasted, you’re starting with a massive head start on deep, savory flavor that raw bones just can’t mimic right away. Just make sure to strip off any leftover meat and skin first—that extra protein adds serious body to your liquid gold. It’s basically free flavor waiting to happen. Use them!
Is it better to strain my stock through a fine mesh sieve or just leave it a bit chunky for texture?
Honestly? It depends on what you’re making. If you’re aiming for a silky, professional-grade soup or a refined sauce, go with the fine mesh sieve. You want that liquid gold to be crystal clear. But, if you’re whipping up a rustic, hearty stew or a chunky vegetable soup, don’t sweat the bits. Leaving a little texture can actually feel more “homemade” and comforting. Personally, I usually strain it—smooth is just easier.